Overview
Increase engagement and maximize giving by allowing your customers to add-on a donation amount of their choice with their purchases with our Customer Add-On campaign.
Implementing Add-On donations resonates with socially conscious customers, giving them control of the giving experience.

Before you begin, ensure you have excluded donations from being affected by discounts - click here to learn how!
Step-by-Step Setup
1. First, you'll want to decide on which giving experience you'd like to offer from the Global Settings page, which can be accessed from the left-side menu:
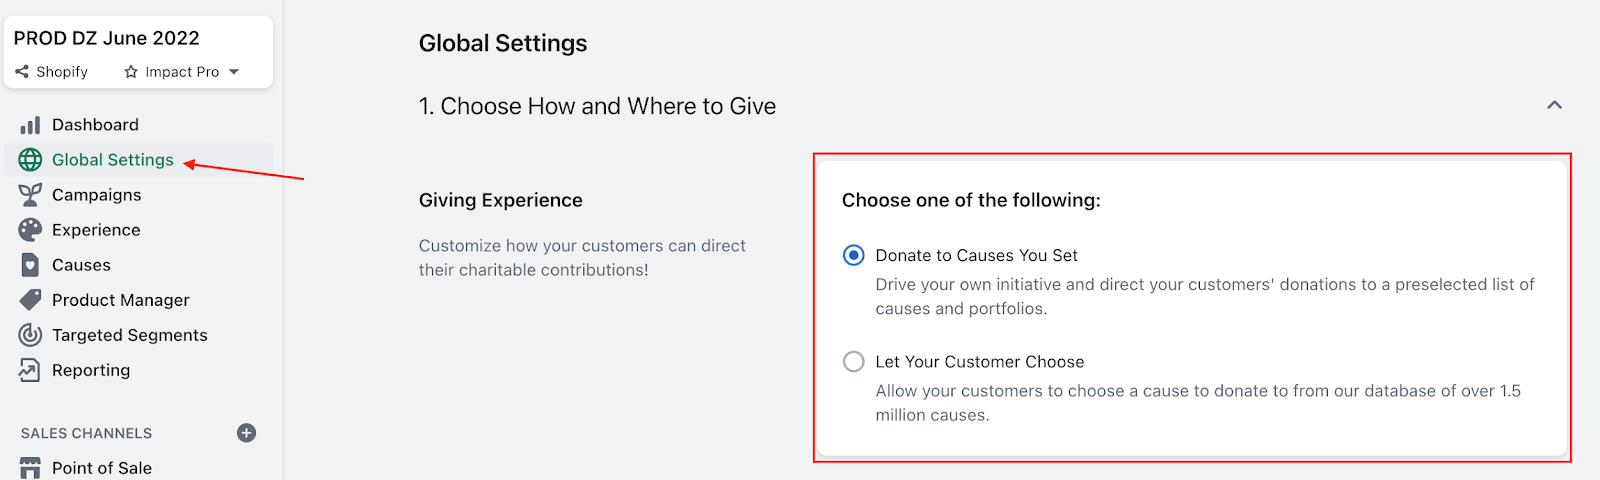
- If you wish for all donations generated on-site to support the cause(s) that YOU select as the merchant, select the Donate to Causes You Set experience
-
- With this experience enabled, if multiple nonprofits are selected as Featured Causes, each donation will be evenly split amongst the selected causes
- With this experience enabled, if multiple nonprofits are selected as Featured Causes, each donation will be evenly split amongst the selected causes
-
- If you wish to allow YOUR CUSTOMERS to select which of your Featured Causes to support with their purchase, select the Let Your Customer Choose experience
- With this experience enabled, if multiple nonprofits are selected as Featured Causes, your customers will have the ability to select which of your featured causes they wish to support with the donation generated with their order.
- As an Impact Starter partner, you will be required to set one of your Featured Causes as a Default Cause when utilizing this giving experience — this way, if a customer does not select a nonprofit to support, a donation will still be generated towards your default cause
- With this experience enabled, if multiple nonprofits are selected as Featured Causes, your customers will have the ability to select which of your featured causes they wish to support with the donation generated with their order.
2. Once you've selected your giving experience, you're ready to set up your Customer Add-On campaign by selecting Campaigns, then Add-On Donations from the left-side menu — this will bring you to the Customer Add-On campaign page as seen below:
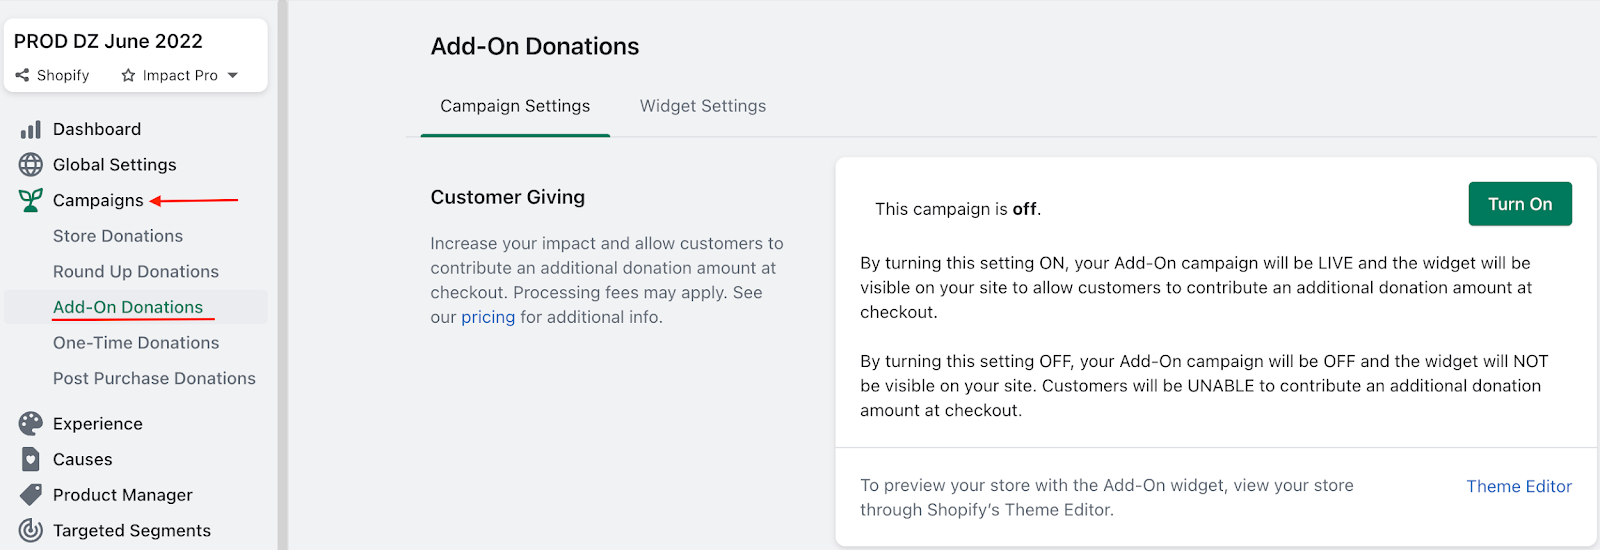
3. Next, you'll want to place the Customer Add-On widget on-site — to start, select the Widget Settings tab seen below:

From the Widget Settings tab, select which method you wish to use in order to assign a location on-site for the Customer Add-On widget:
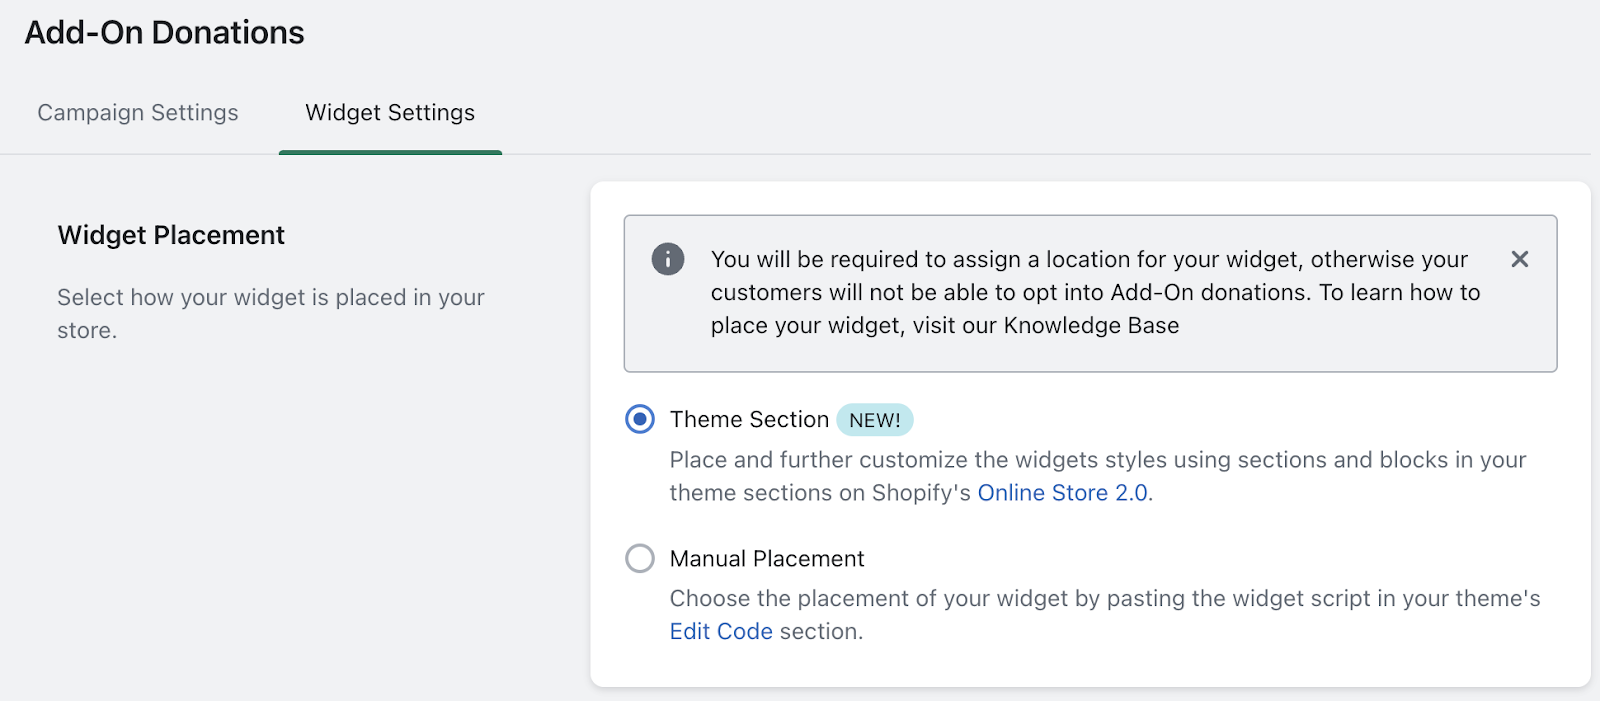
- Theme Section placement (available only on Shopify 2.0 themes) allows you to drag and drop our widgets into your desired location(s) on-site, as well as to customize different aspects of the widget itself, including adjusting default donation amounts. Click here for a guide to Theme Section placement and customization!
- Manual Placement allows you to choose the placement of our widget by pasting the widget script where you would like it within your theme code itself — click here for a guide to Manual placement!
- Recommend placement options for the Customer Add-On widget include the Product page, the Cart page, and/or at Checkout (Please note: widget placement at Checkout requires Shopify Plus)
4. Now that you have placed the Add-On widget on-site, you're ready to activate the campaign by heading back to the Customer Add-On campaign page:
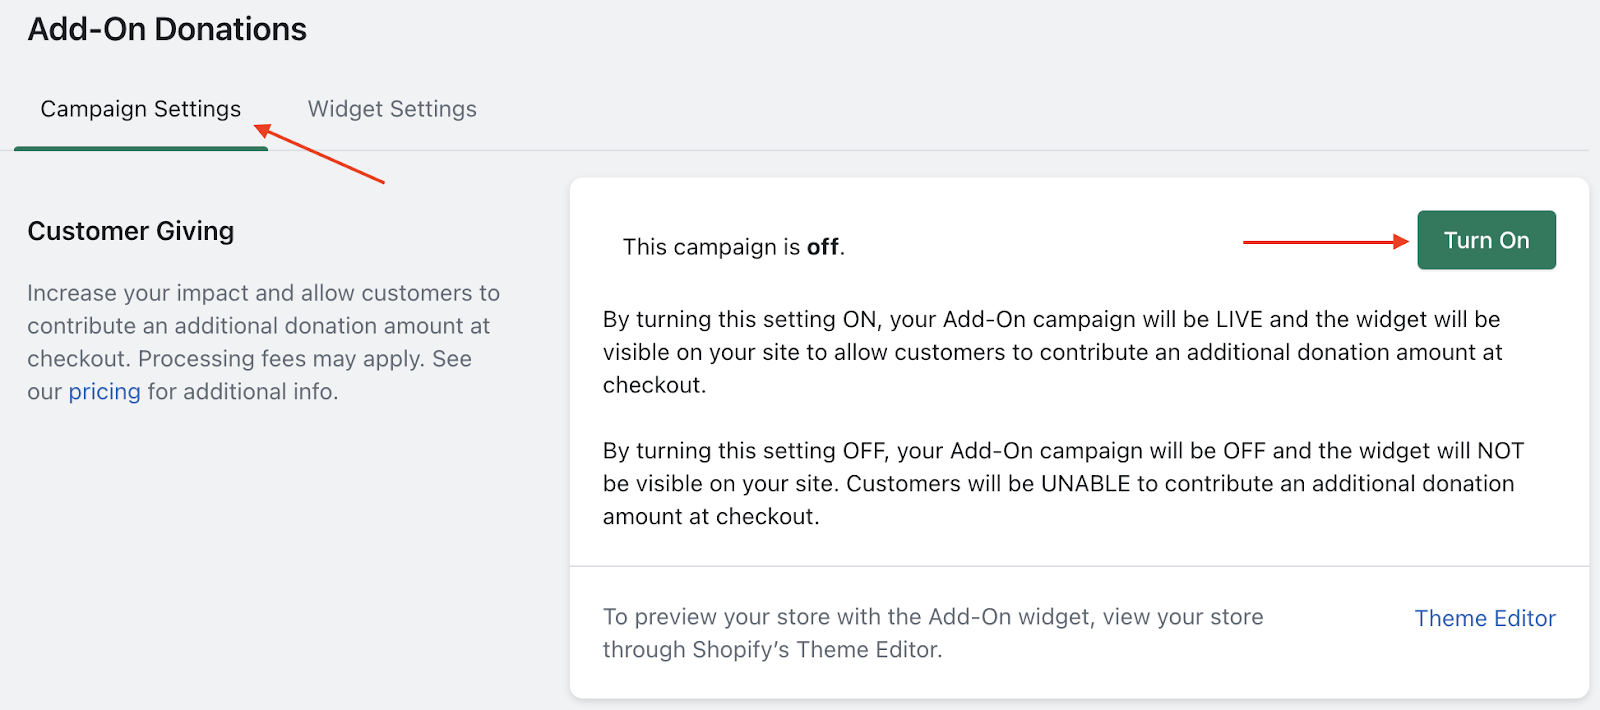
To activate the campaign, simply select the Turn On button pictured above, and save your changes at the top right of the page!
What to Expect
Activation of the Customer Add-On campaign will also create an Add-On Donation product in your Shopify store.
- You may update the image, title, and description associated with the product.
- IMPORTANT: Do not delete the product or remove any product tags or product types - this information is used to properly account for the donation in our system when it is included in a purchase!
Frequently Asked Questions
Q: Can I adjust the Add-On donation amounts available?
A: The Add-On donation amounts, and corresponding product, default to values of $1, $3, $5, and $10. When utilizing "Manual Placement" for the Add-On widget, these amounts cannot be adjusted by you or your customers.
With "Theme Section" placement for the Add- On widget, you have the option of adjusting the default donation amounts for customers to optionally choose from. This configuration requires two additional steps when customizing the widget in Shopify Admin:
1. From within the Add-On widget editor for your theme, scroll down to "Advanced Customizations" and update the "Button Text" values (defaults of 1, 3, 5, and 10) to the desired amounts for donations and save the changes. You do not need to include a $ in front of the numerical value.
For example:
- Button Text (1): "1" -> "2"

2. From within the "Products" section for your store, navigate to the "Add On Donation" product and edit each of the corresponding variants' "Title," "Price," and "Cost per item" to exactly match the donation values set for the widget buttons and save the changes. Do not change the "SKU" value.
For example:
- Title: "$1 Donation" -> "$2 Donation"
- Price: "$1.00" -> "$2.00"
- Cost per item: "$1.00" -> "$2.00"

Once both changes have been made and saved, and per your widget configuration, you can navigate to a corresponding store page (i.e. product description page or cart) and verify that the widget and customer experience has been updated to reflect the adjusted/customized donation amounts.
If utilizing our Checkout Extension, adjusting the default donation amounts for customers to optionally choose from can similarly be accomplished:

Q: Can I hide the Add-On Donation product that now appears within my store?
A: You can accomplish this by following the guide linked here! Please note that deletion/modification of the Add-On Donation product will disrupt functionality of the donation widget.
Other questions? Reach out to us at support@shoppinggives.com — we're here to help!