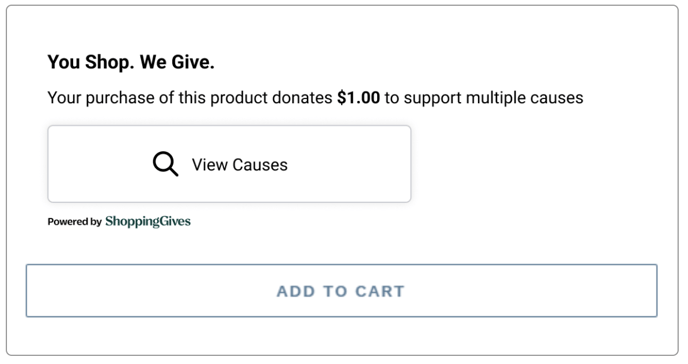
Manually Integrate Store Donation Widget with Cart and Checkout Page
Integrate with Shopping Cart Page
Note: We recommend you follow the Before you edit your theme checklist before you start.
With the ShoppingGives app, you have three options for widget placement for your cart page— theme section, automatic placement, and manual placement. To navigate to the widget placement section:
-
Go into the Impact Portal and click on the Campaigns from the left side menu, then select Store Donations.
-
Next, select the Widget Settings tab:

To implement the Store Donation on Purchase widget on the Cart Page with the theme section widget placement option, you can read our step-by-step guide here.
If you are using the automatic placement widget placement option to implement the widget on the Cart Page, you can either target the Checkout button or use our custom CSS Selector.
If you would like to manually implement the Store Donation on Purchase widget on the Cart Page, it can be placed within its own <div> tag or it can be inserted within an existing <div> or other elements.
The widget by default will appear where the script tag is placed.
Integrate with Checkout Page (*Shopify Plus Only*)
To place the Store Donation on Purchase widget on the theme’s checkout page you are required to be a Shopify Plus store. You may also be required to request access to the checkout page theme files from Shopify Support. This can be done by accessing support in your store settings.
- Ask Shopify Support for access to the checkout.liquid
- Access your checkout.liquid: https://help.shopify.com/en/themes/development/layouts/checkout
- Place the tag directly where you want it OR choose an element to target and provide after or before URL params (see optional URL params below).
Note: The widget by default will appear where the script tag is placed.
Optional: Expanding Mobile Checkout Page View to Show Billing Page Details
To create an optimal experience for mobile users and ensure the users see the option to select a cause on the billing page, you can set the details to expand by default. To do so:
- Navigate to “Online Store > Preferences “Google analytics”
- Place the following script below your google analytics script:
if(typeof Checkout === 'object'){
  if(typeof Checkout.$ === 'function'){
    Checkout.$('button.order-summary-toggle.order-summary-toggle--show').trigger("click"); }
}
If you have any questions regarding how to test the integration, please review this FAQ article.
Widget Script
<script src="https://cdn.shoppinggives.com/cc-utilities/shopify-cart.js?store-id={store-id}"></script>
Optional URL Params
Cart & Checkout Widget Examples
Compact:

Contained:

Full:
